If you’re tired of rummaging through your purse to find what you need, adding a lining can help keep your belongings organized while also giving your purse a polished look. Lining a purse is a simple project that can be completed in just a few hours with the right materials and tools. In this article, we’ll walk you through the steps to line a purse, from choosing the right materials to adding finishing touches.
Choosing the right materials is essential to ensure the lining complements the purse’s design and structure. Understanding the purse’s structure is also crucial to create a lining that fits snugly and doesn’t interfere with the purse’s functionality. Once you have your materials and understand the purse’s structure, you can create a lining pattern tailored to your purse’s dimensions. Cutting and preparing the fabric is the next step, followed by sewing the lining and attaching it to the purse. Finally, you can add additional features, such as pockets or zippers, and finish the lining to give your purse a professional look.
Key Takeaways
- Choosing the right materials and understanding the purse’s structure are crucial to creating a well-fitting lining that complements the purse’s design.
- Creating a lining pattern tailored to your purse’s dimensions and cutting and preparing the fabric are essential steps in the process.
- Sewing the lining, attaching it to the purse, and adding additional features, such as pockets or zippers, are the final steps to complete the project.
Choosing the Right Materials

https://www.youtube.com/watch?v=LzDN33QgiLk&embed=true
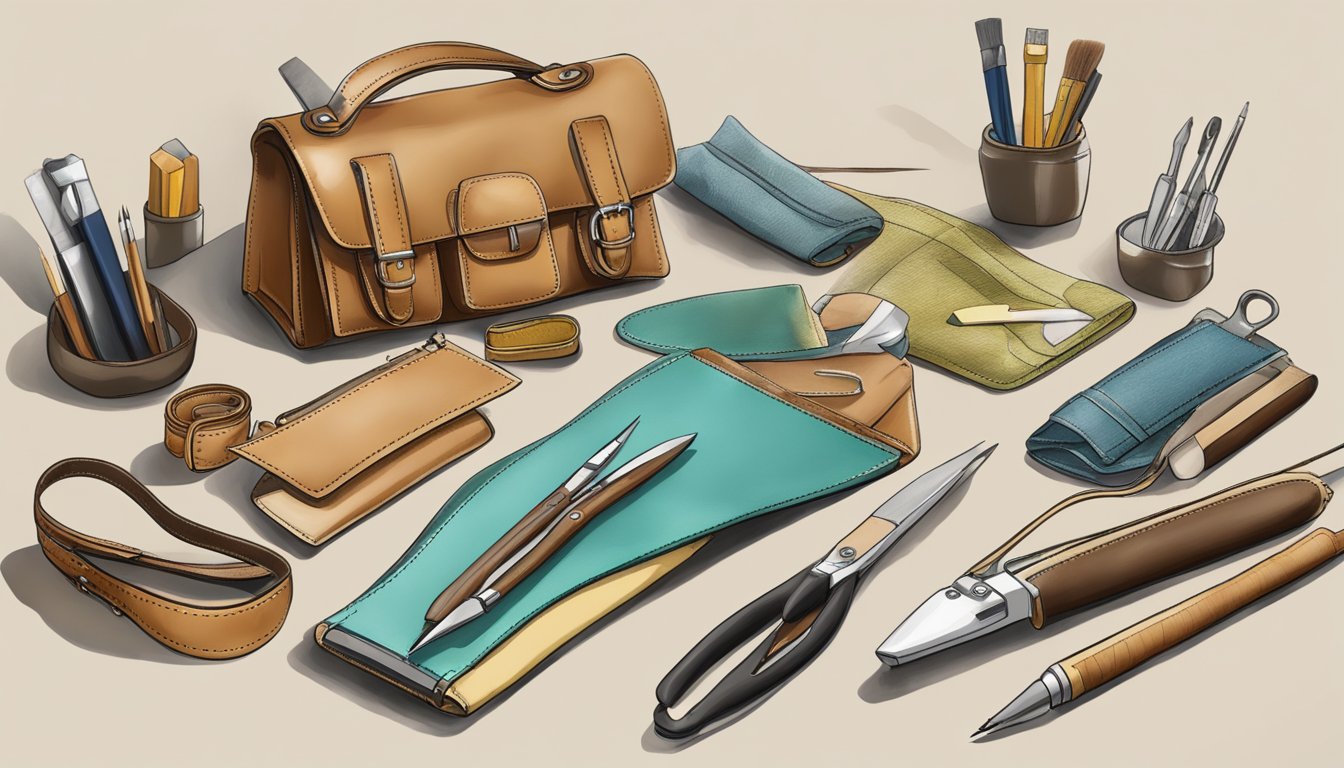
When it comes to lining your purse, choosing the right materials is important for both functionality and style. Here are some materials you’ll need to consider:
Lining Fabric
The lining fabric you choose will depend on the type of purse you’re making and your personal preference. Common options include cotton, polyester, nylon, suede, or leather. Cotton is a lightweight and breathable option that is great for everyday purses and totes. Polyester is known for its strength and resistance to wrinkles, making it a good option for travel bags. Suede and leather can add a touch of luxury to your purse, but they can be more expensive and difficult to work with.
Thread
When selecting thread, choose a color that matches your lining fabric. For a stronger hold, consider using a polyester thread instead of cotton.
Sewing Machine
While hand sewing is an option, a sewing machine can make the process faster and easier. Make sure you have a machine that can handle the weight and thickness of your chosen fabrics.
Pins and Scissors
Pins are essential for holding your fabric in place while sewing. Look for straight pins with a ball head to make them easier to handle. Fabric scissors are also important for cutting your lining fabric. Make sure they are sharp and specifically designed for cutting fabric.
Ruler and Measuring Tape
A ruler and measuring tape are essential for measuring and cutting your fabric. A ruler is great for straight lines, while a measuring tape is useful for measuring curved edges.
Rotary Cutter and Cutting Mat
A rotary cutter and cutting mat can make cutting your lining fabric faster and more precise. The rotary cutter is a sharp, circular blade that cuts through fabric with ease. The cutting mat protects your work surface and helps keep your cuts straight.
By selecting the right materials, you can create a lining that is both functional and stylish. Take your time and choose materials that will work best for your specific purse design and intended use.
Understanding the Purse Structure
Before you start lining your purse, it is essential to understand its structure. A purse has a body, sides, and handles. The body of the purse is the main part that holds your belongings. The sides of the purse connect the body to the handles and provide support. The handles of the purse are the straps that allow you to carry it.
The shape of the purse is also an important factor to consider when lining it. Some purses have a rectangular shape, while others are more round or oval. The width, height, and depth of the purse will also affect the size of the lining you will need to create.
Additionally, some purses have pockets on the inside or outside. If your purse has pockets, you will need to take them into account when measuring and cutting your lining.
Bag patterns can also vary, and some bags may have a boxed bottom or a gusset on the bottom and sides. If your purse has a boxed bottom, you will need to create a lining that fits the shape of the bottom.
Overall, understanding the structure of your purse is crucial to creating a lining that fits properly. Take accurate measurements of the sides, width, height, and body of the purse, and consider any handles, pockets, or patterns that may affect the lining. By doing so, you can create a lining that not only looks great but also protects your belongings.
Creating the Lining Pattern
Once you have selected the lining fabric for your purse, it’s time to create the lining pattern. This pattern will be used to cut the lining fabric to the correct size and shape.
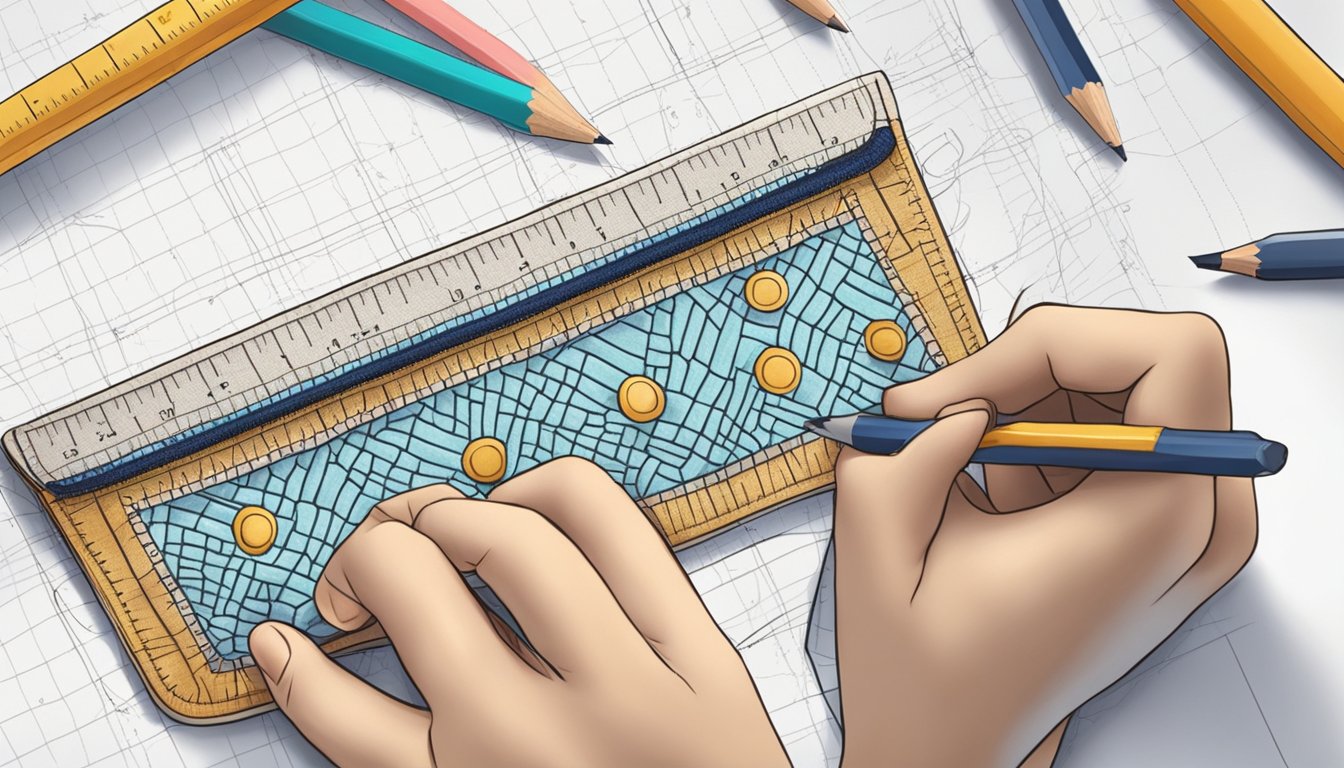
To create the lining pattern, you will need a pencil, ruler, and measuring tape. Start by measuring the inside of your purse, taking note of the width, height, and depth. Write these measurements down on a piece of paper.
Next, add one inch to the width and one inch to the height. This will give you the size of the main section of your lining. For example, if your purse measures 10 inches wide by 8 inches high, your lining pattern should be 11 inches wide by 9 inches high.
« Real vs Fake Designer Handbags Purses: How to Spot the Difference
Fake Coach Handbags: The Truth About Buying a Knockoff Coach Purse »
To create the sides of the lining, you will need to use the depth measurement. Multiply the depth measurement by two and add it to the height measurement. Then, add one inch to the total. This will give you the size of each side of the lining. For example, if your purse has a depth of 3 inches, your lining pattern should have sides that are 15 inches high (2 x 3 + 9 + 1 = 15).
Once you have these measurements, use your ruler and pencil to draw the lining pattern onto a piece of paper. Double-check your measurements to ensure that the pattern is the correct size and shape.
Congratulations! You have now created a lining pattern for your purse. Use this pattern to cut the lining fabric to the correct size and shape, and you’ll be one step closer to a beautifully lined purse!
Cutting and Preparing the Fabric
https://www.youtube.com/watch?v=0aILzWA8EjY&embed=true
Before you start lining your purse, you need to choose the right fabric for the lining. It’s important to choose a fabric that is durable and complements the exterior of your purse. If you’re unsure about which fabric to choose, consider using the same type of fabric as the main bag.
Once you have your fabric, it’s time to cut and prepare it. Start by washing and ironing the fabric to remove any creases or wrinkles. This will ensure that your lining fits smoothly inside your purse.
Next, lay your fabric wrong side out on a cutting mat. Using fabric scissors or a rotary cutter, cut the fabric to the desired size. Be sure to measure the interior of your purse carefully to ensure that the lining fits snugly inside.
If you’re using a patterned fabric, make sure to match up the pattern before cutting. This will ensure that the pattern lines up correctly when the lining is sewn into the purse.
Once you’ve cut your fabric to size, it’s time to attach it securely to the purse. In the next section, we’ll cover how to sew the lining into your purse.
Sewing the Lining
https://www.youtube.com/watch?v=Yeddl5cdgug&embed=true
Now that you have your lining fabric cut out, it’s time to sew it into your purse. Here are the steps to follow:
-
Pin the lining to the purse: Start by pinning the lining to the purse, right sides facing each other. Make sure to align the top edges of both pieces. Use sewing pins to hold them in place.
-
Sew the lining to the purse: Using a sewing machine, stitch the lining to the purse along the top edge, leaving a 1/2 inch seam allowance. Make sure to backstitch at the beginning and end of the seam to secure it.
-
Press the seam: Open up the purse and press the seam allowance towards the lining. This will help the lining lay flat inside the purse.
-
Topstitch the seam: Topstitch the seam on the lining side, about 1/8 inch from the seam. This will help keep the lining in place and give the purse a professional finish.
-
Attach the lining to the purse: With the right sides still facing each other, pin the lining to the purse along the bottom edge. Sew the lining to the purse, leaving a 1/2 inch seam allowance. Make sure to backstitch at the beginning and end of the seam.
-
Turn the purse right side out: Reach inside the purse and pull the lining through the opening at the top. Use your fingers or a blunt object to push out the corners of the purse.
-
Finish the lining: Fold the raw edges of the lining under and pin them to the inside of the purse. Hand-stitch the lining to the purse using a slip stitch or blind stitch.
With these steps, you can easily sew a lining into your purse and give it a professional finish. Remember to use matching thread and pins, and to adjust your sewing machine settings for the type of fabric you’re using. Happy sewing!
Attaching the Lining to the Purse
https://www.youtube.com/watch?v=dKd_sUuWrfw&embed=true
Now that you have prepared your lining and purse, it’s time to attach them together. Follow these simple steps to attach the lining to your purse:
-
Place the lining inside the purse, with the right sides facing each other. Align the top edges of the lining and purse and pin them together. Make sure to match the side seams of the lining and purse.
-
Sew the top edge of the lining and purse together using a ½ inch seam allowance. Start at one end and sew all the way around to the other end. Use a sewing machine or hand sew it if you prefer.
-
Turn the purse right side out through the opening in the lining. You should now have a fully lined purse.
-
To finish the lining, tuck the raw edges of the lining inside the purse and press them flat. Use sewing pins to hold the lining in place.
-
Top stitch around the top edge of the purse to secure the lining in place. This will also give your purse a nice finished look.
-
Finally, remove any remaining pins and give your purse a final press with an iron. Your lined purse is now ready to use!
Remember to use a thread that matches the color of your lining and purse. You can also add pockets to your lining before attaching it to the purse. This will add extra functionality to your purse. Make sure to use high-quality materials, and take your time to sew everything together neatly. With a little patience and practice, you can create a beautiful and functional lined purse that you will love to carry around.
Adding Additional Features
https://www.youtube.com/watch?v=DiYTpQmQMIg&embed=true
Now that you have lined your purse, you might want to add some additional features to make it even more functional and stylish. Here are some ideas to get you started:
Pockets
Adding pockets to the lining of your purse is a great way to keep your items organized and easily accessible. You can create pockets of different sizes and shapes to accommodate your needs. For example, you might want a small pocket for your phone or a larger pocket for your wallet. You can also add a zipper to a pocket to keep your items secure.
Zippers
If you want to add a zipper to your purse, you can sew it to the lining before attaching the lining to the purse. Make sure to measure the length of the zipper and cut a slit in the lining fabric to accommodate it. You can also add a zipper pocket to the lining of your purse for extra security.
Handles
If you are making a tote bag, you will need to add handles to the bag. You can use fabric or cord to create handles. Make sure to attach them securely to the bag and reinforce them with interfacing if necessary.
Buttons
Adding buttons to your purse is a great way to add a decorative touch and keep your items secure. You can use buttons to close the purse or to create a flap over a pocket. You can also add buttons to the lining of your purse to create a buttoned pocket.
Interfacing
If you want to add some structure to your purse, you can use interfacing. Interfacing is a material that is sewn between the lining and the outer fabric to add stiffness and support. You can use interfacing to reinforce the handles or to create a sturdier base for your purse.
Cord
If you want to add some texture to your purse, you can use cord. You can sew cord around the edges of the purse or use it to create a drawstring closure. You can also use cord to create a strap for your purse.
Finishing Touches
https://www.youtube.com/watch?v=Cp5k2ItpmXY&embed=true
Now that you have successfully lined your purse, it’s time to add some finishing touches to make it look more professional and polished. Here are a few tips to help you achieve a finished look:
Iron Your Lining
Before you start adding any finishing touches, make sure to iron your lining. This will help to remove any wrinkles or creases and make it look more professional. Use a warm iron and press gently, being careful not to scorch the fabric.
Topstitch Your Seams
Topstitching is a great way to add a decorative touch to your purse and make it look more finished. Simply sew a line of stitches along the edge of your seams, about 1/8 inch from the edge. This will help to hold your lining in place and give your purse a more professional look.
Backstitch Your Seams
To make sure your seams are secure, be sure to backstitch at the beginning and end of each seam. This will help to prevent your seams from unraveling and ensure that your purse lasts for years to come.
Trim Your Seams
After you have finished sewing your seams, trim any excess fabric to reduce bulk and make your purse look more finished. Be careful not to trim too close to your stitches, as this can cause your seams to unravel.
Admire Your Finished Product
Once you have completed all of the finishing touches, take a step back and admire your finished product. Your purse should now look professional and polished, with a lining that is secure and neatly finished.
Variations and Styles
When it comes to lining a purse, there are various styles and variations you can choose from. Here are a few ideas to help you get started:
Tote Bags
If you’re lining a tote bag, you might want to consider using a lightweight fabric such as cotton or polyester. These materials are easy to work with and won’t add too much weight to your bag. You can also experiment with different colors and patterns to create a unique look.
Style
The lining of your purse can be a fashion statement in itself. Consider using a bold pattern or bright color to add a pop of color to your bag. Alternatively, you can choose a more subtle lining that complements the exterior of your purse.
Canvas
If you’re lining a canvas purse, you might want to consider using a heavy-duty fabric such as canvas or duck cloth. These materials are durable and will help your purse hold its shape. You can also experiment with different colors and patterns to create a unique look.
Accessories
Adding a lining to your purse can also provide a great opportunity to add some accessories. Consider adding pockets or compartments to help keep your items organized. You can also add zippers or buttons for added security.
Lining Leather
If you’re lining a leather purse, you’ll want to choose a fabric that is soft and won’t scratch the leather. Consider using a lightweight cotton or silk fabric. You can also experiment with different colors and patterns to create a unique look.
Overall, lining a purse is a great way to add durability and functionality to your bag. With so many variations and styles to choose from, you’re sure to find a lining that suits your needs and personal style.
Care and Maintenance
https://www.youtube.com/watch?v=Lq28wBTVd-o&embed=true
Taking care of your lined purse will ensure that it lasts for a long time. With proper care, your purse will remain sturdy and in good condition. Here are some tips to help you take care of your lined purse:
Store your purse properly
When you’re not using your purse, store it in a cool, dry place. Avoid storing it in direct sunlight or in a damp area. Make sure that your purse is not stored in a place where it can be crushed or damaged. Store-bought purses often come with a dust bag or a protective cover. Use it to protect your purse from dust and scratches.
Clean your purse regularly
Cleaning your purse regularly will help to keep it looking new. Use a soft-bristled brush or a lint roller to remove any loose debris or dirt. You can also use a damp cloth to wipe down the exterior of your purse. Be sure to use a gentle soap or cleaner that is safe for the material of your purse. Avoid using harsh chemicals or abrasive cleaners that can damage your purse.
Keep your essentials organized
Keeping your essentials organized inside your purse will help to prevent damage to the lining. Use small pouches or bags to store your makeup, pens, and other small items. This will help to prevent spills and leaks that can damage the lining of your purse.
Be gentle with your purse
Avoid overstuffing your purse or carrying heavy items that can strain the lining. Be gentle when opening and closing your purse to prevent damage to the zipper or clasp. If your purse has a shoulder strap, be careful not to pull on it too hard or carry it by the strap for extended periods of time.
By following these simple tips, you can keep your lined purse in great condition for years to come.
Conclusion
https://www.youtube.com/watch?v=HtwdlWRH4gI&embed=true
Congratulations! You have successfully lined your purse with fabric. Lining your purse not only gives it a professional look but also makes it more durable and sturdy. With the help of this easy sewing tutorial, you can now line any purse you want.
Remember to choose the right fabric for your purse. The fabric should be lightweight and not add too much weight to your purse. You can use cotton, silk, or polyester lining fabrics. Make sure to measure and cut the fabric accurately to fit your purse.
If you are new to sewing, don’t worry. This tutorial is beginner-friendly and easy to follow. You don’t need any advanced sewing skills to line your purse. Just follow the step-by-step instructions and you’ll have a lined purse in no time.
In conclusion, adding a lining to your purse is a great way to make it more functional and stylish. With this tutorial, you can create a beautiful and sturdy purse that will last for years to come. Happy sewing!
Frequently Asked Questions
https://www.youtube.com/watch?v=g41AQoub8io&embed=true
What’s the best fabric for lining a purse?
The best fabric for lining a purse is one that is sturdy enough to hold up against daily use and won’t easily tear or fray. Some good options include cotton, silk, or polyester blends. You can also consider using a heavier fabric like canvas or denim for added durability.
How do you hand sew a lining into a purse?
To hand sew a lining into a purse, you will first need to cut the fabric to the size and shape of the purse. Then, place the lining fabric inside the purse and pin it in place. Use a needle and thread to sew the lining to the purse, making sure to stitch along the edges and corners for added durability.
How do you add structure to a purse?
To add structure to a purse, you can use fusible interfacing or stiff interfacing. Cut the interfacing to the size and shape of the purse and iron it onto the lining fabric. This will help give the purse more stability and prevent it from sagging or losing its shape.
What is the difference between bag lining and flat lining?
Bag lining is a type of lining that is sewn directly into the bag, while flat lining is a separate piece of fabric that is sewn into the bag and then attached to the sides and bottom. Bag lining is typically used for bags that have a more complex shape or design, while flat lining is used for simpler designs.
What fabric should you use to line a straw bag?
When lining a straw bag, it’s best to use a lightweight fabric like cotton or silk. You can also consider using a sheer fabric like organza or tulle for added texture and visual interest.
How do you attach a lining to a tote bag?
To attach a lining to a tote bag, first cut the lining fabric to the same size and shape as the bag. Then, place the lining inside the bag and pin it in place. Sew along the top edge of the bag, making sure to catch the lining fabric as well. Finally, turn the bag right side out and press the lining flat.


