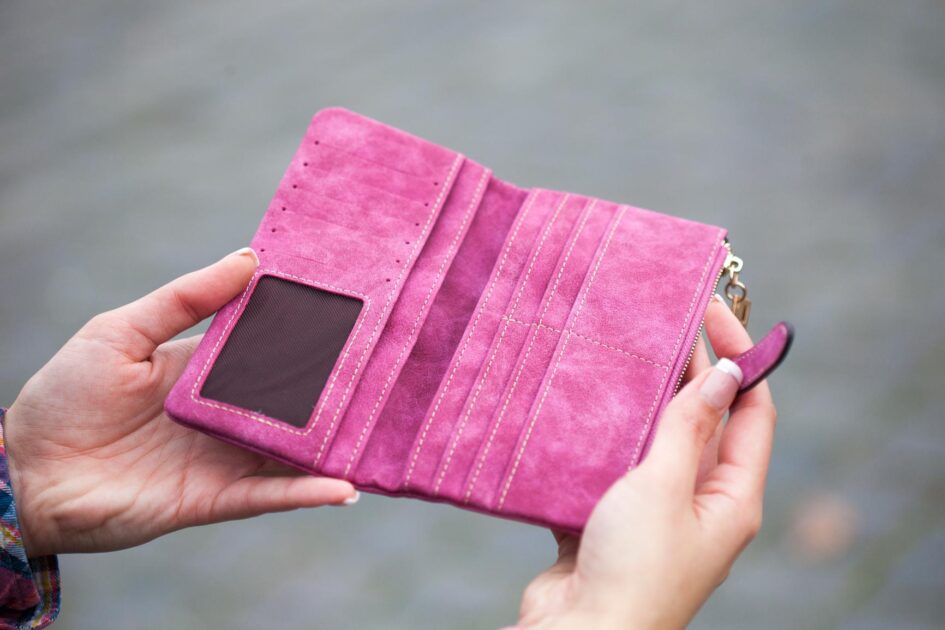
Ever peeked inside your favorite handbag and thought, “Wow, it’s time for a makeover”? You’re not alone. The lining of a handbag often bears the brunt of everyday use, from pen marks to loose threads.

Why Replace the Handbag Lining?
Have you ever considered the impact of a worn lining on your favorite handbag? It’s not just about aesthetics; a deteriorated lining can compromise the functionality and longevity of your accessory. Replacing the lining of your handbag is more than a cosmetic fix—it’s an essential maintenance step.
Protect Your Investments
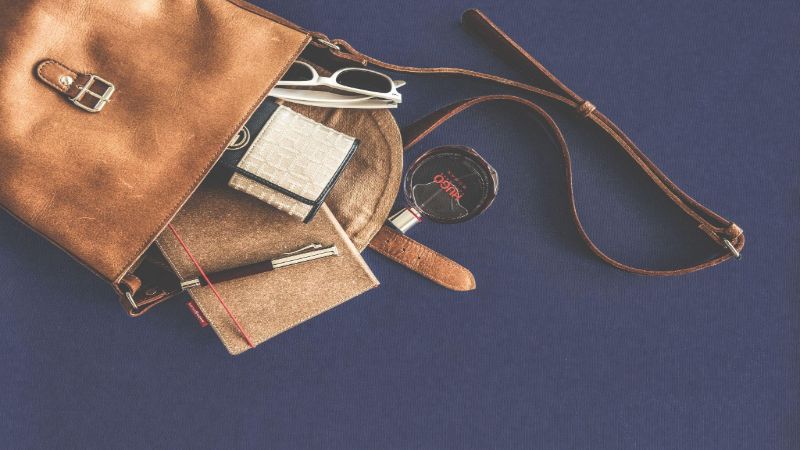
Your handbags are investments. Whether they’re luxury designer pieces or cherished high-street picks, maintaining them is key. Worn linings can snag on items you carry, leading to further damage. Mending or replacing the lining extends the life of your handbag and protects its value.
Prevent Item Loss
Small holes in the lining may seem negligible, but they can lead to lost items like earrings or coins. By replacing the lining, you ensure that everything stays where it should.
Enhance Functionality
When the interior of your bag is in top shape, it enhances the bag’s functionality. A fresh lining can include added pockets or organizational compartments. This customization makes your handbag more practical for daily use.
Address Hygiene Issues
Handbag linings often harbor dirt and debris over time. They can also absorb spills from makeup or pens, leading to unsightly stains and odors. A new lining means a clean and hygienic space for your belongings.
Refresh the Look
Sometimes a new lining can transform your handbag’s look, giving it a new lease on life. If you’re tired of the current fabric or color, choose a new lining that resonates with your evolving style.
Avoid the Cost of a New Purchase
Finally, the cost of a new handbag can be significant. By replacing the lining, you keep your favorite piece in circulation without the expense of a new purchase. It’s an eco-friendly choice that also honors your personal style history.
Consider the state of your handbag’s interior. If you spot signs of wear, it might be time for a refresh that goes beyond the surface. Your handbag deserves that level of care.


Signs It’s Time to Replace the Lining
You love your handbag. It’s been with you through thick and thin, but lately, you’ve noticed it doesn’t look or function quite the way it used to. It’s crucial to recognize the signs that the lining of your handbag needs replacing. Ignoring these signs can lead to further damage and potentially ruin your cherished accessory.
Here are some clear indicators that it’s time for a lining makeover:
- Persistent stains or marks that don’t come off with cleaning may signal that the fabric has reached its limit.
- Fraying fabric or visible wear and tear, especially along seams, suggests the material is weakening and could soon rip.
- The lining feels loose or bunches up, which can cause discomfort and difficulty in finding your items.
- You’ve noticed unpleasant odors that persist even after airing out your bag. Fabric can harbor bacteria and mold, impacting the hygiene of your handbag.
- Small items like pens or lipstick caps keep slipping through holes in the lining — an evident sign of compromised functionality.
- If the lining detaches from the exterior shell or the stitching comes undone, it’s a surefire sign that refurbishment is necessary.
Should you experience any of these issues, take it as a nudge to refresh your handbag’s interior. Acting swiftly not only preserves your handbag but also enhances your daily experience using it. Remember, the lining of your handbag plays a silent yet pivotal role in its day-to-day utility and overall longevity. Keep an eye out for these symptoms and give your trusty tote the care it deserves.
Assessing the Damage
When suspecting your handbag lining needs replacement, proper examination is critical. Start by emptying your bag. Remove all items, shake out any debris, and inspect the interior in good lighting. Look for the obvious signs first: tears, loose threads, and discoloration. These are clear indicators that the lining has seen better days.
Check the seams where the lining attaches to the handbag. Are there gaps? Is the stitching intact? Loose seams can lead to further tearing and increase the risk of losing items. Next, apply gentle pressure to the lining. If it feels brittle or cracks, the material is deteriorating.
Persistent odors are another concern. If after airing out and cleaning, there’s still a smell, it’s likely absorbed into the lining’s fabric. This isn’t just unpleasant—it can potentially transfer to items you carry.
Using a flashlight, examine for less obvious damage. Shine the light inside the bag, looking for pinholes or thinning material. Even small punctures can enlarge over time, especially in stressed areas like corners and pockets.
Performing a ‘pull test’ can be revealing. Pinch a small section of lining between your fingers and pull gently. Does it stretch abnormally or tear? This signals a loss of integrity in the fabric and provides a practical assessment of the lining’s condition.
Lastly, consider functionality and appearance. A damaged lining can affect the bag’s shape and how it sits. If it’s bunching or sagging, this impairs both the look and practical use of your handbag.
Remember, the lining is your handbag’s unsung hero, often working behind the scenes. Take the time to ensure it’s in top condition to maintain your handbag’s beauty and utility.


Preparing for the Replacement
« Where to Put Handbag in Car: Discover Hidden Hooks & Genius Organizers
Wash Handbag in Washing Machine: Smart Tips for Safeguarding Your Accessory »
Before you embark on replacing your handbag lining, it’s crucial to amass all the necessary supplies. Crafting tools and materials must be at hand to facilitate a smooth transition from old to new. You’ll need:
- A seam ripper
- Sharp scissors
- The new lining fabric
- Matching thread
- A sewing machine or needle
- Pins or fabric glue
Ensure the fabric quality complements your handbag. Durability and color matching are key factors to consider when selecting a new lining. Take accurate measurements of the old lining before purchasing your material to avoid wastage and ensure a perfect fit.
Next, establish a clean workspace. Adequate lighting and a flat surface are imperative for a meticulous removal and sewing process. Protecting your handbag’s exterior is vital during replacement. Cover the work area with a soft cloth or a towel to prevent scratches and other damage.
Detach the existing lining carefully using the seam ripper. It’s your template and guide for cutting the new lining, thus precision in removal is essential. Without destroying the structure, patiently undo the stitches. Keep an eye out for secondary pockets or zippers that will need to be reattached to the new lining.
Remember to capture photos at each step or jot down notes, especially if the lining is complex. Documentation aids in the reassembly process and ensures nothing is overlooked.
Once the old lining is out, inspect the handbag’s interior structure. Address any loose threads or minor repairs on the bag’s skeleton before proceeding. It’s an opportunity to fortify the foundation of your handbag for long-term use.
With the old lining as your pattern, lay out the new fabric and begin the cutting process. Allow some extra seam allowance for adjustments during the sewing phase. Pin the segments together, or use fabric glue if you’re not sewing, to create a preliminary fit inside your handbag.
Post-cutting, you transition into the most technique-focused stage — sewing or adhering the new lining. Precision here dictates the final look and functionality of your handbag, so take your time.
Finding the Right Lining Material
When embarking on the quest to refresh your handbag, sourcing the ideal lining material is key. The fabric you choose should not only reflect the aesthetic of your handbag but its functionality too. Your choices range from durable cotton and silky satin to sturdy canvas, each with its pros and cons.
Cotton is a no-brainer for its breathability and ease of maintenance, making it a go-to choice. It’s available in myriad patterns and colors, providing the freedom to complement or contrast your handbag’s exterior. Satin gives off a luxurious feel, its sleek surface allowing items to glide in and out effortlessly; however, it’s a tad more prone to wear and tear. Canvas aligns with sturdier bags, offering unmatched durability but with less variance in patterns.
It’s not just about looks—consider the weight and thickness of your new lining material. A heavy-duty fabric might add unnecessary heft to your handbag, while a too-light fabric may tear under the strain of daily use. Aim for a balance, ensuring the material is strong yet not cumbersome.
Let’s not overlook the functional aspect of the lining. If you’re often on the move with gadgets, consider a fabric with a water-resistant finish; it will protect against spills and rain. For those who prioritize organization, seek materials that can support added pockets or compartments to keep items orderly.
You’ve got the details down—the next step is hitting the fabric store or exploring online options. Keep your handbag’s dimensions and style in mind as you browse. Remember, the lining is the unsung hero of the bag’s interior, so give it the consideration it deserves. Once you’ve scored the perfect match, roll up your sleeves; it’s time to bring your handbag back to life.
Removing the Old Lining
When diving into the process of removing the old lining from your handbag, patience and precision are your key allies. Start by emptying your handbag completely. You don’t want any stray items getting in the way.
Next, carefully examine how the lining is attached to the handbag. Look for seams, stitches, or glue that might hold it in place. If it’s sewn, use a seam ripper or small scissors to gently cut the stitches. For glued linings, slowly peel the fabric away, starting from a corner. You might need a pair of tweezers to pull out leftover threads or a soft brush to dust away debris.
If the lining is stitched into pockets or around zippers, take extra caution. These areas require a delicate touch to avoid damage to the handbag’s structure. Cut closely along the stitch lines and try not to pull or tear the fabric.
Here’s a quick checklist:
- Empty the handbag.
- Determine how the lining is attached.
- Use a seam ripper or scissors for stitches.
- Peel and brush off glued fabric.
- Handle pockets and zipper areas delicately.
Remember, any harsh movements can not only ruin the old lining further but may also damage your handbag. This is an excellent time to inspect the inner fabric for signs of wear or attachment points that may need reinforcing.
Keep all parts of the old lining. You can use them as templates for cutting the new lining. It saves time and ensures a perfect fit, matching the original handbag’s design.
Measuring and Cutting the New Lining
Once you’ve got the old lining removed, it’s time to get precise with your new fabric. Your handbag’s future look hinges on this step – so no pressure, right? You’ll start by laying out the old lining on top of your new fabric. Ensure it’s smooth and wrinkle-free; a clean cut depends on it.
Transfer the old lining’s shape onto the new material using tailor’s chalk or a fabric pen. Don’t rush. Accuracy here saves time later. If your old lining has stretched or deformed, don’t use it as a template. Instead, measure the handbag’s interior and add seam allowances where needed.
- Add about half an inch for seam allowances on all sides.
- For zippers and pockets, give yourself extra leeway.
Grab your fabric scissors and cut. Follow the lines closely. If you’re adding a pocket or a zipper section not present in the original design, plan and cut those pieces now. Remember to match the pocket’s fabric to the new lining for a cohesive look.
Don’t discard the cuttings just yet. If you make a mistake, they could serve as patches or you might need to refer to them for structure.
With your pieces cut, align them inside the handbag to double-check the fit before sewing. Adjustments are easier to make now rather than after stitching. Look out for bulges or gaps. Your handbag should appear as if it’s coming back to life, piece by piece.
Sewing the New Lining in Place
Once you’ve double-checked the fit of your cut lining, it’s time to attach it to your handbag. Start with the outer edges, pinning the lining evenly around the top of the bag. Ensure the fabric is smooth and free of wrinkles; this will prevent puckering once you sew it into place.
Anchoring the lining is critical — begin sewing at one seam and methodically move towards the opposite side. If your handbag design has multiple compartments or pockets, attach these features now. Use the same stitch length and color thread as the original lining for consistency.
When approaching corners or curved edges, slow down. Curved edges require more attention, so guide the fabric gently and don’t rush. If your machine has a free arm, use it to your advantage here, as it allows more flexibility and control.
For pockets or dividers, reinforce the stitching since these areas will undergo more stress in day-to-day usage.
Attaching Zippers and Closures
If you’ve removed zippers or closures, reattaching them is your next step. Align the hardware precisely where it was on the original lining. Using a zipper foot on your sewing machine will make this task easier and grant you the precision you need.
For magnetic closures, ensure the alignment is perfect before stitching — misaligned closures can affect the bag’s functionality.
Finishing Touches
After all elements are sewn into place, trim any excess threads. Inspect the lining one more time to catch any areas you may have missed or that require reinforcement.
Gently press the lining with a warm iron, if the fabric allows, to remove any small wrinkles. This adds a professional touch to your work and makes the lining sit more neatly inside your handbag. Remember, never press directly onto the lining; use a pressing cloth to protect the fabric.
Secure the lining’s top edge to the handbag with a blind stitch or by using an adhesive if you prefer a no-sew approach. The key here is for the lining to be fixed firmly so that it stands up to the wear and tear of daily use.
Adding Finishing Touches
Once you’ve sewn your new lining into your handbag, it’s time to focus on the details that can make a big difference. Trim any excess threads to keep your work looking neat and professional. Loose threads can also catch and cause snags in the fabric, which will detract from the clean look of your handbag.
Next, you’ll want to press the lining. Use a warm iron and a damp cloth to avoid any direct contact with the fabric that might cause damage. This step will eliminate wrinkles and ensure your lining fits smoothly against the interior of your handbag.
Then, it’s essential to check the function of your pockets and zippers. Do they open smoothly? Are the pockets securely attached? If you find any issues, address them now. It’s far easier to fix small problems before the lining is fully secured in place.
The top edge of the lining deserves special attention. It must be securely fastened to the handbag to ensure it doesn’t sag or pull away with use. Use a blind stitch or an adhesive, depending on your preference and the style of the handbag. Be meticulous—this is what can elevate your bag’s appearance from homemade to haute couture.
Lastly, inspect the overall look and feel. Does the lining sit flush with the interior? Are the seams straight and even? Your eye for detail will be the final judge before your handbag is ready to make its re-debut.
Conclusion
Well done! You’ve just given your beloved handbag a fresh lease on life with a brand new lining. Remember, the devil’s in the details—take your time to ensure everything fits just right and those stitches are strong. Your bag’s not just a fashion statement, it’s a trusty companion, and now it’s ready for more adventures with you. So go ahead, show off your handiwork and enjoy the satisfaction of a job well done. Here’s to many more years of strutting your stuff with your revitalized accessory by your side!
Frequently Asked Questions
What materials do I need to replace a handbag lining?
You’ll need new lining fabric that complements your handbag, sewing essentials like needles, thread, scissors, and possibly additional components such as pockets or zippers.
How do I remove the old handbag lining?
Carefully detach the old lining by gently pulling it away from the handbag’s edges. Use caution to avoid damaging the handbag’s interior and exterior.
Can I use the old lining as a template?
Yes, the old lining is a great template for cutting the new one. Remember to add seam allowances and account for any modifications like extra pockets or features.
How do I ensure the new lining fits properly?
After cutting the new lining, double-check the fit inside your handbag, making adjustments as needed before you start sewing.
What’s the best way to sew the new lining into the handbag?
Anchor the new lining in place, then sew around corners and edges. Reinforce stitching where necessary, particularly for pockets or dividers, and attach any zippers or closures.
Are there any finishing touches I should be aware of after sewing in the new lining?
Trim any excess threads, use a warm iron to press the lining, secure the top edge of the lining to the handbag, and inspect your work to ensure a neat finish.