Ever wondered how to spruce up your accessory game with something unique and self-made? Crafting a quilted handbag is not only a fun way to spend your afternoon, but it also leaves you with a fabulous result. Whether you’re a sewing newbie or a seasoned stitcher, you’ll love the personal touch a handmade quilted bag adds to your style.

Choosing the Right Materials and Fabrics
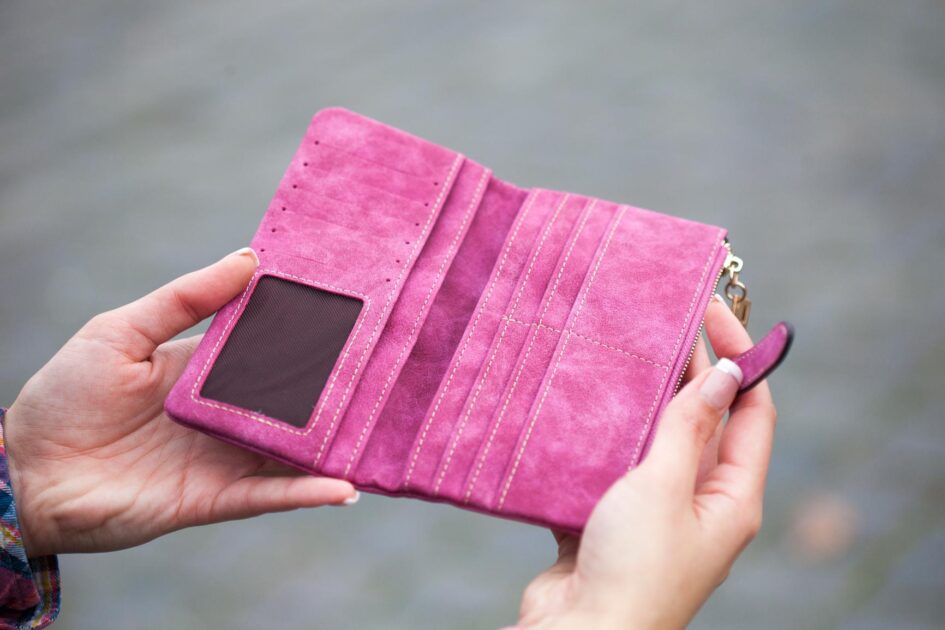
When you’re diving into the world of quilted handbags, the right materials can make all the difference. Fabric selection is crucial, and you’ll want to choose based on durability, texture, and of course, style. For the exterior, cotton is a popular choice due to its ease of handling. However, for a more luxe feel, consider suede or leather. When opting for fabrics like these, remember that they require special sewing needles and techniques.
For the lining, select a fabric that complements the exterior but is lighter in weight. A satin or polyester lining not only looks sleek but also eases the strain on your seams. Remember, the lining is where you can play with color and pattern, bringing a personal touch to your design.
Padding is essential for that quintessential quilted look and protection. A medium-weight interfacing or batting will provide structure and a plush feel. Here’s a brief rundown of the types of interfacing you might consider:
- Fusible interfacing: easy to apply, creates a crisp shape.
- Sew-in interfacing: offers flexibility, maintains a handcrafted aesthetic.
- Foam interfacing: great for stability, adds a modern edge to your bag.
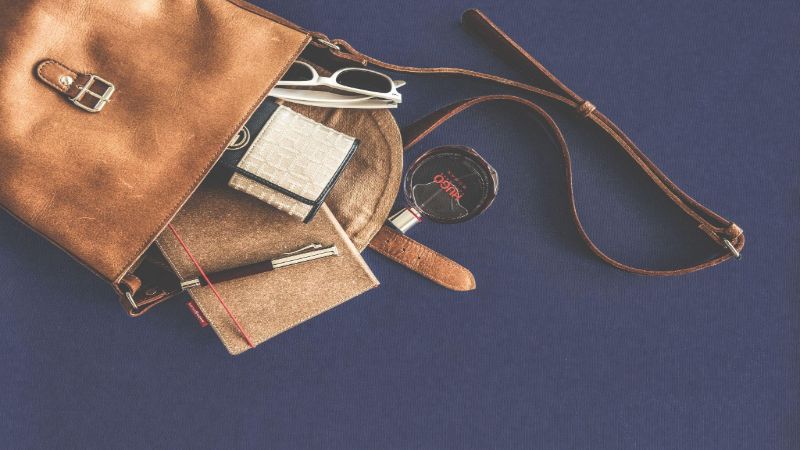
Not to overlook, the hardware on your handbag is the icing on the cake. Zippers, clasps, and handles should not only match your aesthetic but also be of high quality to withstand regular use. Metal hardware tends to last longer and adds a professional touch.
When gathering your materials, keep in mind that the bag’s intended use will guide your choices. A day-to-day tote demands sturdier materials than an evening clutch. Here’s a brief checklist for your quilting adventure:
- Exterior fabric
- Lining fabric
- Interfacing or batting
- Quality thread
- Durable hardware
Armed with the right materials, your handcrafted quilted handbag won’t just be a fashion statement—it’ll be a testament to your crafting skills and personal style.
Preparing the Fabric Pieces
Before diving into the assembly of your quilted handbag, you’ll need to prep your fabric pieces accurately. Precision is key—any misstep here could throw off your entire design.
Start by washing and ironing all fabrics before cutting. This step prevents future shrinkage and gets rid of any unwanted creases that might distort your measurements.


Next, lay out your exterior fabric on a flat, stable surface. Use a ruler and a rotary cutter for straight, exact lines. You’re aiming for precision—rough cuts can lead to a lopsided bag. Measure twice, cut once; that’s the golden rule.
For the lining, the method is identical. Remember that the liner is as vital as the exterior in form and function. It should complement your outer fabric not just in color but also in shape and size.
Moving on to interfacing—it’s going to bring stability and form to your creation. Choose the proper weight of interfacing for your chosen fabrics. If you’re unsure, medium-weight is usually a safe bet for most quilted handbags.
Cut the interfacing using the same dimensions as your exterior pieces. Then, follow the manufacturer’s instructions to fuse the interfacing to the wrong side of your outer fabric. Don’t rush this step; a well-adhered interfacing is crucial for a structured finish.
Incorporate a margin for error in your initial cuts, especially if you’re new to this. Allow yourself that extra fabric for peace of mind. Remember, hardware and other embellishments should align with the cuts you make here.
With all pieces prepped, you’re well on your way to creating a functional and stylish quilted handbag. Keep your workspace organized and your tools at hand, as you’ll be moving to the assembly stage shortly.
Creating the Quilted Design
After prepping your fabric, it’s time to dive into the quilted design that’ll set your handbag apart. Start by choosing a quilting pattern. Patterns can range from simple straight lines to intricate motifs. Consider the size of the bag; larger patterns make a bold statement on bigger bags, while delicate designs suit smaller handbags.
Plan Your Quilting Path
Mapping out your stitching pathway prevents you from painting yourself into a corner. Use fabric markers that vanish or fade to plot your course. This step is crucial to maintaining symmetry and ensuring the quilting enhances the bag’s overall design.
Stitch With Confidence
When you stitch, keep the fabric taut, but don’t pull it too tight. Your machine tension should be even to prevent puckering. Remember, the quilting adds not only aesthetics but also durability. Choose a thread color that complements the bag for subtle elegance or opt for a contrasting shade to make the quilting pop.
Secure the Layers
Your handbag will have several layers—fabric, batting, and lining. Pin or use basting spray to hold them in place as you work. Starting from the center, move outward to keep everything smooth. If you’re adding pockets or compartments, do so before quilting to hide the seams.


« How to Choose Handbag: Find Your Perfect Match with Style & Function
Leather Piping Fix: Master Handbag Repair with This Easy Guide »
Trim and Press
After quilting, trim excess batting and backing and press the piece well. This makes assembling the handbag easier and ensures a crisp, professional finish. Keep an eye out for any loose threads or irregularities in your quilting, and address them promptly.
As you progress, the structure of your quilted handbag begins to take shape. You’ll notice how the chosen pattern influences the texture and form of the final product. The most satisfying part is seeing your vision materialize as you incorporate the quilted design into the bag’s assembly. Remember that each step builds upon the next, setting the stage for a well-crafted and stylish accessory.
Assembling the Bag
Once you’ve stitched, trimmed, and pressed your quilted handbag pieces, it’s time to bring it all together. Start with the main panels of the bag, sewing them carefully along the designated seams. Your guide here is the pattern you chose; it should include precise seam allowances.
- Sew the bottom of the bag to the quilted panels.
- Align the edges and use pins or clips to hold everything in place.
- Stitch slowly and remove pins or clips as you go along.
Next, attach the side panels, ensuring that the quilted lines align perfectly. This attention to detail will give your handbag a polished, professional look.
When the outer shell is assembled, focus on the lining. The lining should mirror the outer shell, but you might choose a simpler, non-quilted fabric for ease and contrast. Sew pockets into the lining before attaching it to the outer shell. This is your chance to add personal touches like zipper pockets or slip pockets.
For a sturdy base, consider inserting a cut-to-size piece of stiff fabric between the outer and inner layers. This provides shape and support so your handbag maintains its form over time.
Finally, attach the handles or straps to your handbag. You could use pre-made handles, or craft your own for a unique touch. Reinforce the attachment points by sewing back and forth several times.
- Position handles symmetrically.
- Use a heavyweight needle and strong thread.
With the handles in place, finish by sewing the lining to the outer shell. Turn the bag right side out through a small unsewn section, then sew that gap closed by hand for a seamless finish. Your handbag is now effectively assembled, with the structure and durability to become a stylish and lasting accessory.
Adding the Handle and Closure
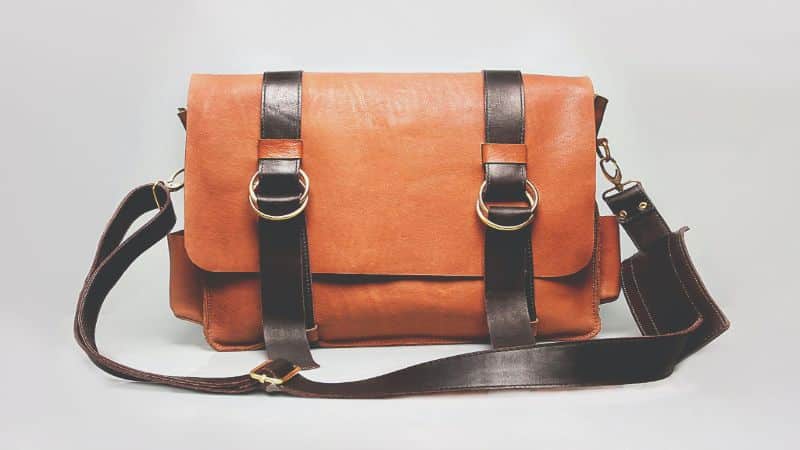
Attach the handle to your quilted handbag by first selecting the type of handle you prefer. Leather straps or chain handles are popular choices that offer both style and durability. Measure the desired length, ensuring comfort when slung over your shoulder.
To attach a leather handle:
- Position the ends where you want them on the bag.
- Secure them in place with pins.
- Sew the handle onto your bag with a strong thread, using a sewing machine for a reinforced attachment.
If you’re using a chain handle, attach lobster clasps to the ends of the chain and corresponding D-rings to the bag. This allows for easy removal and versatility.
Adding a closure keeps your belongings secure. Consider a magnetic snap for convenience or a zipper for a more secure option.
To install a magnetic snap:
- Mark the snap placement on both the lining and the outer shell.
- Attach the snap components by cutting small slits into the fabric and inserting the prongs.
- Secure the prongs with a backing to prevent wear on the fabric.
For a zipper closure:
- Cut the zipper to the width of your bag’s opening.
- Pin and sew one side of the zipper to the lining and the other to the outer shell.
- Ensure the zipper teeth are facing towards the outer shell when sewing.
Consider adding a zipper pull or tassel for an additional design element and to aid in opening the bag. Remember to install the closure before sewing the lining to the outer shell completely to maintain a seamless look. With these finishing touches, your hand-crafted quilted handbag not only becomes functional but also reflects your personal style and attention to detail.
Conclusion
You’ve done it! Your quilted handbag is now a beautiful reality, complete with a sturdy handle and a secure closure. Whether you chose a leather handle or a removable chain, you’ve personalized your creation to suit your style. The addition of a magnetic snap or zipper not only adds to the bag’s functionality but also to its overall aesthetic. Don’t forget that final touch—a zipper pull or tassel can make all the difference. Step back and admire your handiwork; this handcrafted accessory is sure to turn heads and spark conversations wherever you go. Now, it’s time to start planning your next project—because let’s face it, you’ve got this down to an art!
Frequently Asked Questions
How do you attach a leather handle to a quilted handbag?
To attach a leather handle, position the ends of the handle where you want them on the bag, secure with pins, and sew onto the handbag using strong thread.
Can you use a chain handle for a quilted handbag?
Yes, a chain handle can be utilized for a quilted handbag. Attach the chain to the bag using lobster clasps and D-rings for easy removal and added versatility.
What types of closures can be added to a quilted handbag?
Magnetic snaps or zippers are commonly used closures for quilted handbags. They secure the contents and provide a polished look.
How do you install a magnetic snap to a handbag?
To install a magnetic snap, mark the placement on the handbag, make small slits for the prongs, and then secure the snap components into place.
What is the process for adding a zipper to a quilted handbag?
Adding a zipper involves marking the placement on the handbag, cutting a slit to accommodate the zipper length, and then sewing the zipper into place securely.
Can you add a zipper pull or tassel to a quilted handbag?
Yes, for an additional design element and functionality, a zipper pull or tassel can be attached to the zipper of the quilted handbag.