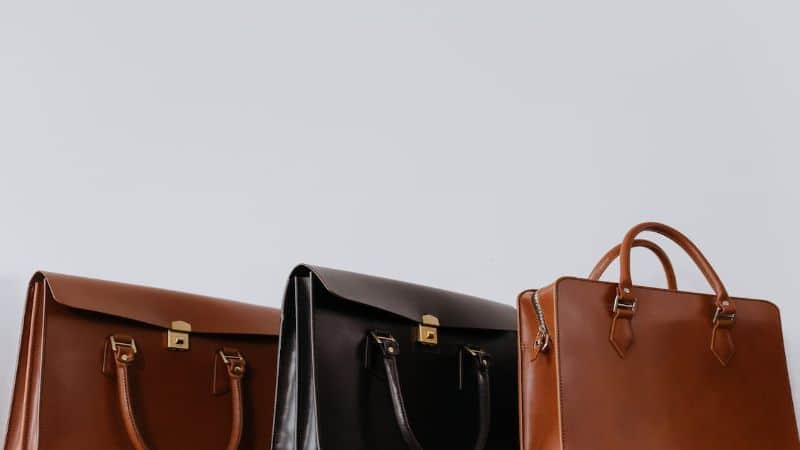
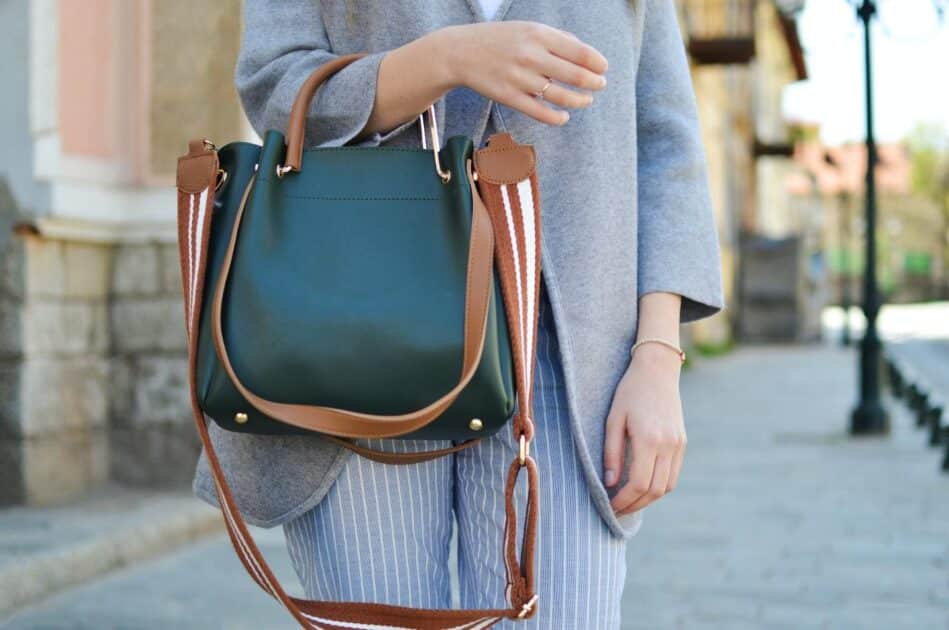
Oh no, your favorite handbag’s strap just gave out, didn’t it? But don’t worry, you’re about to turn that fashion faux pas into a crafty comeback. Whether it snapped, frayed, or detached, there’s a fix for that, and you won’t even need to be a DIY guru to pull it off.

Assessing the damage
Before you dive into the repair process, you’ll need to determine the extent of the damage to your handbag strap. Inspecting the strap is crucial to figure out the best approach to fixing it.
First, check for frayed edges. Are there loose threads, or has the material started to come apart? This will indicate if you can simply trim and re-sew or if you’ll need to reinforce the strap. Look for signs of wear and tear. If the strap is leather, are there cracks or signs of dryness? These issues can be remedied with leather conditioner before the actual strap repair.
Next, examine the attachment points where the strap connects to the bag. Are there broken stitches, or have the hardware links come undone? Metal clasps and loops can be replaced, and stitching can be redone if necessary.
If you’re dealing with a torn strap, assess whether it’s a clean break or if it’s ragged and uneven. Clean tears are easier to fix, while jagged ones might require a patch or complete strap replacement.
For a snap or buckle breakdown, consider if you can substitute the hardware with a matching piece. Sometimes, custom hardware can be sourced to maintain the bag’s aesthetic integrity.
Remember to evaluate structural integrity. If the strap has a core that provides shape and support, ensure that it hasn’t been compromised. A broken core might necessitate a more complex repair or professional intervention.
Dealing with a completely severed strap presents a unique challenge. If it’s a clean cut, reattachment might be straightforward. However, if the strap has been worn down or torn gradually, you’ll need to reinforce it as you repair it.
Armed with knowledge about the kind of damage you’re facing, you’re ready to gather the appropriate tools and materials for the repair job. Choose supplies that match the strap’s material and color for a seamless fix.
![[8 Sizes] 800pcs M2 M2.5 M3 M4 M5 M6 M8](https://m.media-amazon.com/images/I/71OSvqCKvXL._AC_UL320_.jpg)


Gathering the necessary tools
Once you’ve examined your handbag strap and identified the issue, it’s time to compile a toolkit for the repair job. Having the right tools on hand is crucial to ensure a smooth and successful process.
Here’s what you’ll need:
- Needle and thread: Opt for a heavy-duty needle and strong thread, matching the color of your strap. This is essential for sewing repairs.
- Scissors: A sharp pair for cutting thread or trimming frayed edges.
- Leather adhesive: If your strap is leather, a quality adhesive is key for bonding.
- Replacement hardware: Buckles, snaps, or clasps if these parts are damaged.
- Pliers: Handy for grip and precision when working with small metal components.
Be sure your workspace is well-lit and organized. Keeping your tools within easy reach will make the repair process more efficient. Start with clean and dry materials, and ensure your handbag is empty to avoid additional strain on the strap during the repair.
If you need to reinforce the strap, consider a leather patch or fabric interfacing. These materials provide extra strength and durability to areas weakened by wear or damage.
Don’t forget a ruler or tape measure for alignment and symmetry, especially if you’re cutting fabric or leather to patch the strap. Accurate measurements make a difference between an amateur and a professional-looking repair.
Finally, if your strap’s issues are related to stitching, a seam ripper may be necessary to remove old thread before resewing the strap. It’s all about precision when you’re bringing your accessory back to its former glory.
Remember, the quality of your repair is directly influenced by the quality of your tools. Investing in good tools now can save you from future handbag mishaps.
Fixing a snapped strap
When your handbag strap snaps, time is of the essence to get it fixed. First things first, inspect the break. If the strap’s leather or fabric has a clean break, the repair process will be straightforward. However, if the edges are jagged, you’ll need to trim them before starting.
Key Tools and Materials Needed:
- Heavy-duty needle
- Strong thread
- Scissors
- Leather adhesive
Start by aligning the broken strap ends. Make sure they’re even to avoid an awkward length once repaired. Apply a small amount of leather adhesive to bond the edges—this acts as an initial hold, making sewing easier.


« Can You Wash Handbags? Learn the Safe Cleaning Secrets Here
Parts of Ladies Handbags: Uncover Essential Compartments & Linings »
Prepare your heavy-duty needle and thread. You’re aiming for durability, so double up your thread for added strength. Begin stitching in a pattern that will distribute the load across the repair. A cross-stitch pattern works well for this.
Here’s a quick rundown of the stitching process:
- Begin on the inside for a clean finish
- Make small, tight stitches
- Keep tension even throughout
If you’re dealing with a thicker strap, consider using a thimble to protect your fingers and make pushing the needle through easier. Once stitching is complete, check the repair for any gap or weak points. Go over these areas again if necessary.
For additional reinforcement, you could apply a leather patch. Cut a piece slightly larger than the damaged area and adhere it to the inside of the strap. Then, stitch the patch into place, ensuring it’s secure and not visible from the outside.
Remember, the goal is not just to fix your strap but to restore its original strength and appearance. It pays to take your time and do it right. A well-repaired strap should withstand normal use, just like before the mishap.
Repairing a frayed strap
Fraying signals the start of a breakdown, but it’s often an easier fix than a snap. When you’re tackling a frayed strap, the key is to act fast before the damage spreads. Trim any loose threads carefully, avoiding further damage to the strap material. Don’t pull at strands; use sharp scissors for a clean cut.
Fusing the strap stops fraying if no significant material loss has occurred. A small amount of fabric adhesive applied to the area prevents further unraveling. Ensure the glue is suitable for your handbag’s fabric type. Leave it to dry completely before moving on.
If there’s obvious wear leading to the fraying, reinforce the area. Iron-on patches or interfacing works well for fabric bags. For leather straps, consider adding a thin leather strip over the damaged area. Both solutions fortify the strap and add to its lifespan.
When stitching is a must, go for a thread that matches your strap. Use a needle that’s appropriate for the thickness of the material. Hand stitch meticulously, as neat, even stitches yield the best results.
For professional-looking repairs, sometimes hardware can help. Small metal clasps or covers contribute both practical strength and stylish flair to your handbag strap.
In case you’re dealing with severe fraying where the strap seems beyond repair, don’t fret. Specialty handbag repair shops offer services that could restore your strap, often blending the repair seamlessly with the original design. Always worth a try before you consider a full strap replacement.
Lastly, after your repair, maintain the strap by conditioning the material. Proper care prevents future fraying and extends the life of your beloved handbag.
Reattaching a detached strap
When your handbag strap detaches completely, don’t panic. It’s a common issue and one that can often be fixed at home with the right tools and a bit of patience.
First, assess the type of strap detachment you’re dealing with:
- If the strap has come loose from the hardware, examine the hardware itself. Is it bent, broken, or can the strap simply be threaded back through?
- In case the strap broke away from the bag, check if there’s a clean area where it was originally attached.
If the hardware is the problem, you’ll need to replace it. Find matching hardware at craft stores or online. You want something that’s not just functional but also complements your bag’s design. Once you’ve got the right piece, use pliers to remove the old hardware and attach the new one.
When the strap has ripped from the bag, sewing it back on is usually the best route. For this, you’ll need:
- A heavy-duty needle
- Strong thread that matches your bag
- Thimble (for pushing through tough materials)
Start by realigning the strap to its original position. Ensure it’s straight and even to avoid a lopsided bag! Stitch it carefully, making sure to make the stitches small and close together to provide strength. If you’re uncomfortable with hand sewing, a cobbler or leather repair shop can often do this for a reasonable price.
Sometimes, additional reinforcement may be necessary. Consider using a piece of leather or fabric inside the strap for added durability. Glue this in place first, then sew through it to ensure it’s secure.
Remember, steady hands and patience are key to reattaching a strap. Rushing might force you to start over, and no one wants that. If your handbag is particularly pricey or dear to you, seeking professional help might be worth the investment to keep it looking great and functional for years to come.
Adding reinforcement
When you’ve managed to secure the initial repair of your handbag strap, you’ll want to add some reinforcement to prevent future damage. Think of this stage as the shield that guards your strap — making it tough enough to withstand daily wear and tear.
Choose the Right Materials
Selecting the right reinforcement material is crucial. Your options typically include:
- Leather strips: Ideal for leather handbags and offer robust support.
- Fabric patches: Flexible and good for fabric straps.
- Webbing: Durable and provides excellent strength, especially for heavier bags.
The Reinforcement Process
Begin by cutting your chosen material to match the width and length of your strap. It should cover the damaged area and extend slightly beyond to ensure a secure hold.
Apply fabric glue evenly to the back of the material, then press it firmly onto the strap. Ensure there are no air bubbles or creases — these can weaken the bond.
For leather reinforcements, consider stitching around the edges after gluing. Use a diamond tip awl to pre-punch holes and make the sewing process easier.
If you’re working with webbing or patches, an iron-on option might be available. Ensure your iron’s temperature setting aligns with the material’s requirements and apply firm pressure to secure the patch.
Test the Strength
After attaching your reinforcement, it’s time to put it to the test. Gently tug at the strap to ensure it feels solid and stable. If there’s any give or the material lifts, you may need to add more adhesive or additional stitching.
Remember to let the glue cure for the time specified on the product instructions before using your handbag. Rushing this step can result in a weaker bond that might not hold up over time.
By reinforcing your handbag strap properly, you’re not just fixing the present issue — you’re also fortifying it against future problems. Keep an eye on your strap and perform maintenance checks occasionally to ensure it remains in top condition.
Conclusion
You’ve got all the tips and tricks to bring your beloved handbag back to life! Remember, a quick fix now can save you from a bigger problem later. Whether you’re reinforcing a frayed edge or reattaching a strap that’s come loose, you’re well-equipped to handle it. Just grab your tools and get to work with confidence. Your handbag’s been through a lot with you—it’s worth the effort to keep it by your side. And hey, if you ever hit a snag that’s too tough to tackle, there’s no shame in turning to a pro. Happy repairing!
Frequently Asked Questions
What’s the first step in fixing a frayed handbag strap?
Act quickly to prevent further damage by trimming any loose threads carefully using sharp scissors.
Can fabric adhesive be used to repair a strap?
Yes, fabric adhesive can be used to fuse frayed edges and add reinforcement to a handbag strap.
How can I reinforce my handbag strap after repairing it?
You can reinforce the repaired strap by using iron-on patches, a thin leather strip, or sturdy webbing, ensuring the material chosen is applied evenly for maximum strength.
Is it possible to fix a detached handbag strap at home?
Yes, a detached strap can often be reattached at home by replacing any necessary hardware, sewing with a heavy-duty needle and strong thread, and reinforcing the area with additional fabric or leather.
What tools are recommended for sewing a detached handbag strap?
Use a heavy-duty needle, strong thread, and a thimble for sewing, and consider additional reinforcement materials such as leather or fabric patches.
When should I consider professional repair services for my handbag strap?
Professional repair services should be considered when the damage or fraying is severe and beyond the capabilities of home repair methods.
How do I choose the right materials for reinforcing a repaired handbag strap?
Select materials like leather strips, fabric patches, or webbing based on the strap’s material and the level of strength required, ensuring compatibility with fabric glue or iron-on methods.
What maintenance checks should I perform after repairing a handbag strap?
Regularly test the strength of the repaired strap and inspect for signs of wear or weakness, taking action to reinforce or repair as needed to maintain durability.