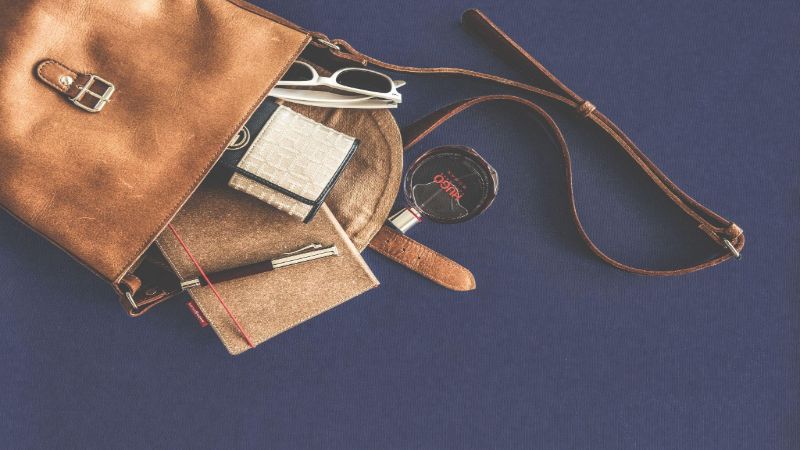
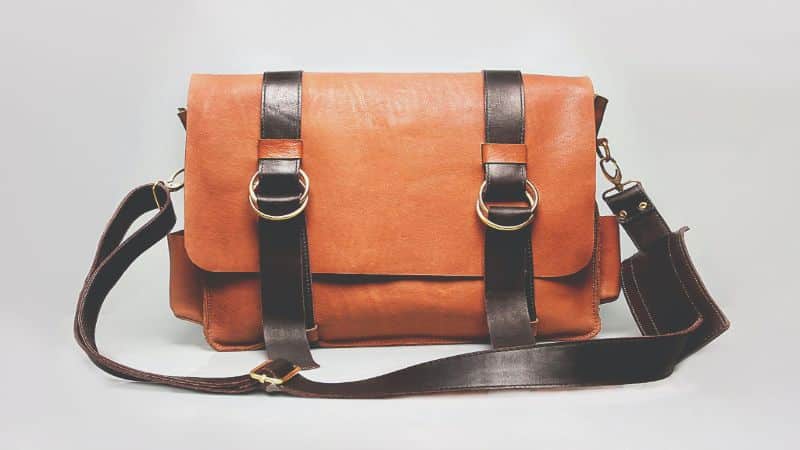
Ever looked at a designer handbag and thought, “I could make that”? Well, you’re in luck! Crafting your own handbag at home is not only a fun and creative outlet, but it also gives you the freedom to tailor it to your personal style.

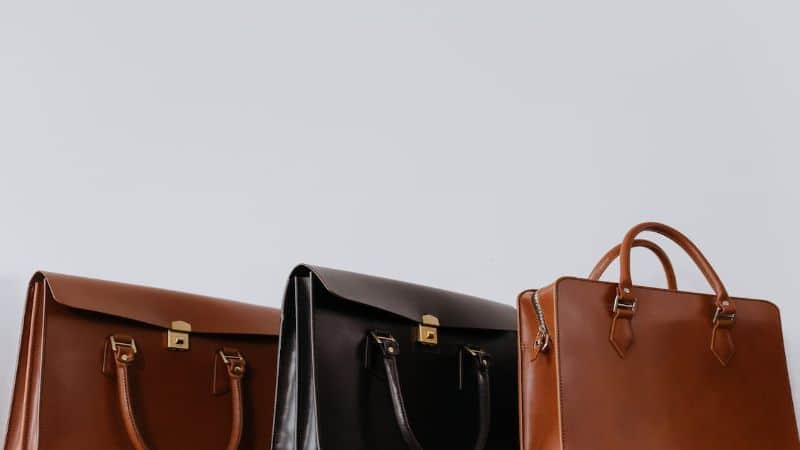
Choosing the right fabric
The fabric you select is the cornerstone of your handbag’s aesthetic and durability. Fabric choice dictates not just the look but also how it holds up over time. When choosing the right fabric for your handbag, consider the weight, texture, and weave of the material.
Heavy-duty fabrics like canvas or denim are robust, ideal for everyday use. They resist wear and tear, maintaining form even after extensive use. On the other hand, lighter materials such as cotton or linen are easier to work with but may not withstand heavy contents as well.
When considering aesthetic appeal, think about prints and patterns. Bold prints make a statement, while subtle patterns can complement various outfits. Solid colors tend to be versatile, but don’t shy away from experimenting with vibrant hues or eclectic prints.
Texture is another aspect to keep in mind. A smooth fabric lends a sleek look, whereas a textured material adds depth to your handbag. Your choice here reflects your personal style.
For internals, lining fabrics such as silk or satin provide a luxurious feel and ensure your belongings glide in and out smoothly. They also offer an additional layer of protection to the contents of your bag.
Always test fabric strength before committing. You don’t want your handbag to tear under pressure. Conduct a simple pull test to check if the fabric can bear the weight and strain of daily use.
Before you purchase, remember to:
- Feel the material. Does it hold its shape well?
- Scrutinize the fabric’s thickness and durability.
- Imagine the final product. Will this fabric achieve your desired look?
Selecting the perfect fabric is a blend of practicality and style. It’s the base upon which your handbag’s personality is built. Choose wisely to ensure your creation not only looks good but also stands the test of time.
Gathering the necessary materials
Before you dive into the exciting process of making your own handbag, you’ll need to gather a few essential materials. First things first, you’re going to need the right tools for the job. Make sure to have these items at your disposal:
- A pair of sharp fabric scissors
- Sewing machine or needle and thread
- Straight pins
- Measuring tape or ruler
- Fabric marker or chalk
- Iron and ironing board
With tools in hand, it’s time to choose your fabric based on the previous section’s advice. Keep in mind the bag’s intended use and select accordingly. You’ll typically require about two yards of your main fabric and lining. Moreover, for added structure, consider interfacing—a type of stabilizing layer—which can give your handbag a more professional finish.
Selecting Additional Components
The devil’s in the details, and when it comes to handbags, hardware and accessories can make all the difference. Here’s a list of additional components you may need:
- Zippers or magnetic snaps for closures
- Buckles, rings, or clasps for straps
- Decorative elements such as buttons or beads
Calculating Fabric and Hardware Needs
To avoid surplus or shortage, calculate the amount of fabric and number of accessories needed. Here’s a simple table to get you started based on a medium-sized handbag:
| Item | Quantity |
|---|---|
| Main Fabric | 2 yards |
| Lining Fabric | 2 yards |
| Interfacing | 2 yards |
| Zipper | 1 unit |
| Magnetic Snaps | 2 units |
| Buckles | 2 units |
| Decorative Elements | As desired |
Remember, it’s better to have a little extra than to come up short. Once you’ve gathered all the materials, you’re set to embark on the creative journey of handbag crafting. Keep your workspace organized and your materials within reach to streamline the making process.
Creating a pattern for your handbag
Before cutting your fabric, you need a blueprint—the handbag pattern. Making your pattern ensures your bag’s dimensions match your vision. Start with paper; it’s easier to adjust than fabric.
Sketch the bag on the paper, considering the size and shape. Ask yourself, how deep should the bag be? How long are the handles? Jot down these measurements as you visualize the handbag’s final look.
Now refine your sketch. Include seam allowances around each piece; typically, you’ll add half an inch. If your bag has multiple compartments or pockets, design each one separately.
Transfer your refined design to a sturdier material like cardstock or thin cardboard. Cardstock patterns are durable and reusable. Cut out the pattern pieces and lay them onto your fabric to optimize fabric use.
Ensure symmetry by folding the paper in half lengthwise when designing elements like flaps or straps. Unfold to reveal a perfectly symmetrical piece.


« How to Make Handbag with Cloth: DIY Guide for a Unique Accessory
Best Way to Display Handbags: Show Off Your Collection with Style »
Test your pattern with cheap muslin or scrap fabric. This mock-up lets you spot issues without wasting good fabric. Adjust the pattern if something’s off.
Use the table below to help ensure you’ve got all pattern pieces covered:
| Pattern Part | Quantity | Notes |
|---|---|---|
| Main Body | 2 | Front and back |
| Side Panels | 2 | If applicable |
| Bottom Panel | 1 | Optional, for structured bags |
| Lining | 2 | Mirror to main body |
| Interior Pocket | 1 – 2 | Optional |
| Handles/Straps | 2 | Adjust length as desired |
| Flap/Closure | 1 | If applicable |
After your pattern is perfected, you’re ready to cut your fabric. Keep your pattern pieces labeled clearly. Good labeling avoids confusion during the sewing process. Pin the pattern securely onto your fabric, ensuring it doesn’t shift as you cut. Remember, precision now saves you headaches later.
Without the proper pattern, the best fabrics and embellishments won’t save your homemade handbag. Invest time here – it’s the foundation for everything that follows.
Cutting and sewing the fabric pieces
Once you’ve perfected your pattern, it’s time to make the first cut. Lay your final choice of fabric on a flat surface. Pin the pattern pieces to the fabric, following the grain line to ensure the fabric drapes nicely when the bag is constructed.
Cut around the pattern carefully. Precision is key to a professional look. Remember the seam allowances; they provide the necessary space for stitching the pieces together.
Next, sort the cut pieces. Organizing now saves time later.
Onto the sewing machine. Begin with interior pockets. These are easier to add before the sides of the bag come together. Tack them onto one of the interior panels before moving on.
When stitching the main parts, use a stitch length that offers both strength and aesthetics. For most fabrics, a length of 2.5 to 3 mm works well. Always backstitch at the start and end of a seam to secure it.
Turn the focus to the exterior. Attach any hardware, such as magnetic snaps or buckles, according to the pattern instructions. It’s simpler to do this now rather than trying to navigate a half-completed bag.
Sew the exterior panels together. Be mindful of matching up seams and keeping them straight. Press each seam as you go to give your handbag a crisp, professional edge.
With the exterior and interior prepped, it’s time to bring them together. Insert the interior into the exterior, right sides together, lining up the seams and edges. Sew around the top, leaving an opening for turning the bag right side out.
Carefully turn the bag, make sure corners are fully pushed out, and topstitch around the opening if necessary. This not only closes it but adds a polished finish.
If your design includes a bottom insert for structure, cut a piece of stiff material to fit inside the bag. Cover it with fabric if you like, then place it at the bottom of the bag before the final topstitch for a clean look.
Remember, every stitch counts. Take your time and make sure you’re satisfied with each step. The effort will show in your finished handbag.
Note: The table provided in the earlier section should be referred to ensure all pattern pieces are included in the cutting process.
Adding closures and straps
Once your handbag’s main components are assembled, you’re ready to tackle closures and straps—the elements that make your bag functional and easy to carry.
Closures are crucial for security and convenience. You’ve got several options:
- Zippers offer the best protection. Measure the opening of your bag and cut a zipper to size. Remember, it’s wise to attach the zipper before sewing the sides of the bag together.
- Magnetic snaps are a chic choice and easy to install. Mark the spot where you want your snap to go, then use a seam ripper to make a small hole. Slide the prongs of the snap through the fabric and secure with a backing.
- Velcro provides a simple closure method. Sew one strip on the inside of your bag flap and the corresponding strip on the outside of the pouch.
For straps:
- Determine the length of your straps by looping a measuring tape over your shoulder to the point you want your bag to hang.
- Cut two lengths of fabric for the straps, making sure they’re at least 4 inches wide for comfort.
- If you prefer an adjustable strap, add a buckle. Slide your strap through the buckle, folding over to secure it and sewing that in place.
- Sew your straps onto the body of the bag inside the seams. For extra strength, sew a rectangle with an X inside it where the strap meets the bag.
Choose materials that complement your handbag and stand up to daily use. Leather, thick cotton, and nylon are all durable choices. If you’re using a lighter fabric for the bag, consider interfacing to reinforce the straps.
Remember, this is a creative process and your handbag should reflect your personal style. Feel free to experiment with different types of closures and strap lengths until you find what works best for you.
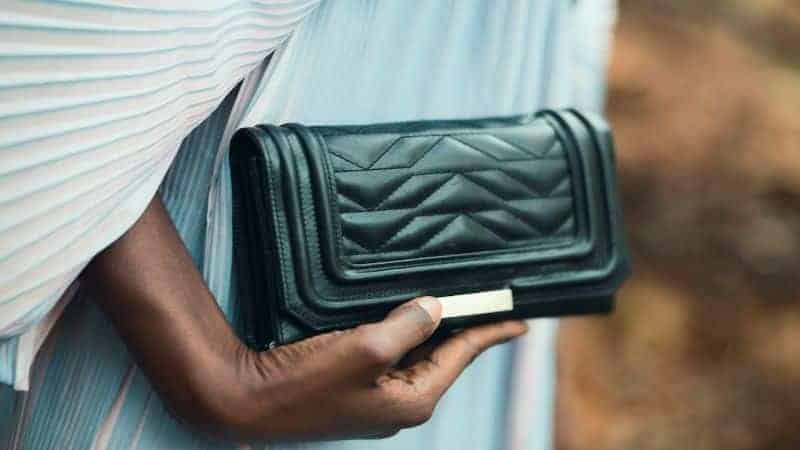
Adding finishing touches
Now that your handbag has all its functional elements in place, it’s time to step up the aesthetic game.
Choose a Lining that complements or contrasts with your outer fabric. A lining can prevent items from getting caught in the seams and adds a professional touch. Measure the interior of your bag, cut the lining to fit, and sew it into place, right sides together. Make sure to leave an opening to turn the bag right side out.
Pockets and Compartments are next. Decide what you need: a place for your phone, a secure zippered pocket, or simple slip-ins for cards? Cut out the pocket shapes from your lining material and sew them onto the lining before attaching it to the bag.
Reinforce the Bag’s Base if you’re aiming for something sturdy. Insert a cut-to-size piece of cardboard or plastic between the outer fabric and lining. For an even stronger base, cover the insert with fabric to match your design.
Add Decorative Elements such as:
- Buttons
- Patches
- Beads
- Embroidery
These are not just ornamental; they’re reflections of your style. Affix them strategically to enhance your bag’s appearance.
Topstitch the Edges for a crisp, finished look that also adds strength. Use a contrasting thread for a pop of color or match the thread to your fabric for a subtle outline.
Press the Handbag with an iron, paying special attention to the seams and edges. This will eliminate wrinkles and give your bag a more polished look. Use a cloth between the iron and fabric to prevent any heat damage.
Remember to check each step as you go. It’s much easier to correct any mishaps along the way than at the end of your project. Keep refining your techniques, and before you know it, you’ll be crafting handbags that are not only functional but also showcase your unique sense of style.
Conclusion
You’ve now got the know-how to craft a handbag that’s not just functional but also a reflection of your personal flair. Remember, the beauty of making your own handbag is in the details—those pockets, reinforcements, and decorative touches that make your creation truly yours. Don’t shy away from experimenting with different fabrics and designs. And most importantly, have fun with it! Your handbag is a statement piece that’s all about your individuality, so let it shine. Now, grab your supplies and get started—your next favorite accessory is just a stitch away!
Frequently Asked Questions
What is the best way to choose a lining for a homemade handbag?
Choosing a lining for a homemade handbag depends on your personal preference. Consider a fabric that either complements or contrasts with the outer fabric to add an appealing touch. Ensure it’s durable enough to support the items you’ll carry.
How can I add more functionality to my homemade handbag?
Adding pockets and compartments to the lining of your handbag can significantly increase its functionality. Plan these features according to what items you intend to carry, and sew them into place before attaching the lining to the bag.
What can be done to reinforce the base of a homemade handbag?
Reinforce the base of your homemade handbag by using sturdy materials like a thick interfacing or a piece of plastic canvas. This will help the bag hold its shape and support the weight of its contents.
How can decorative elements enhance a homemade handbag?
Decorative elements such as buttons, patches, beads, and embroidery can give your homemade handbag a unique and personal touch. They can be used to add flair or complement the bag’s design.
Why is topstitching important for a handmade handbag?
Topstitching is important for a handmade handbag as it provides a clean, finished look and additional strength to the seams. It also helps in maintaining the structure of the bag and prevents layers of fabric from shifting.
What is the final step to finish a homemade handbag?
The final step in finishing a homemade handbag is pressing it with an iron to remove any wrinkles. This step gives the handbag a crisp, professional appearance. Always check your fabric’s ironing requirements to avoid damage.
How can I improve my handbag-making skills?
To improve your handbag-making skills, it’s crucial to check each step as you progress and continually refine your techniques. With practice and attention to detail, you will be able to create handbags that reflect your unique sense of style.